This is the day one of TheFlightSims Challenge - A 10-day challenge to set up a full-stack enterprise network at home, with Microsoft Active Directory, DevOps, and so on.
Set up new operating system on bare metal
Download & install new OPNSense instance on router
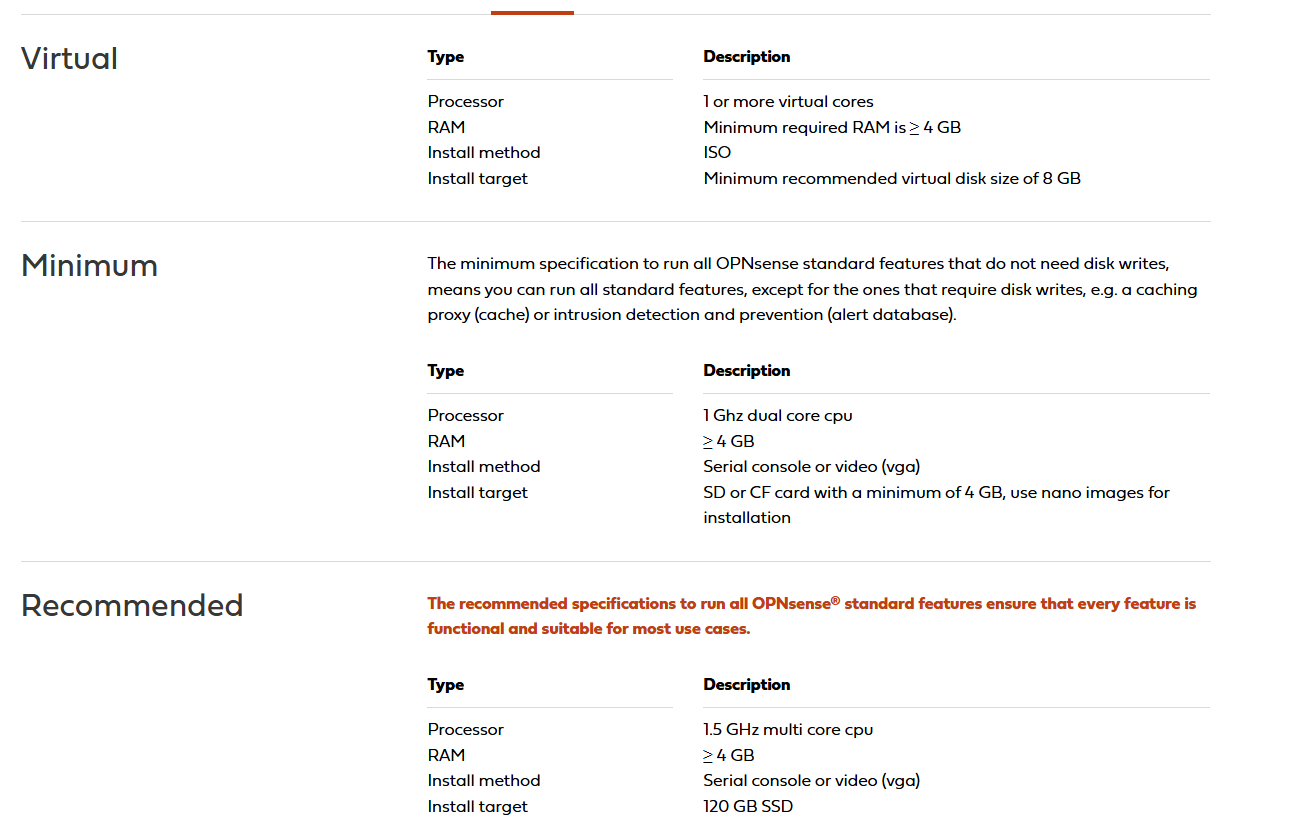
You can check out for the system requirements on the OPNSense system requirements
From the official page, you can download new instance of OPNSense.
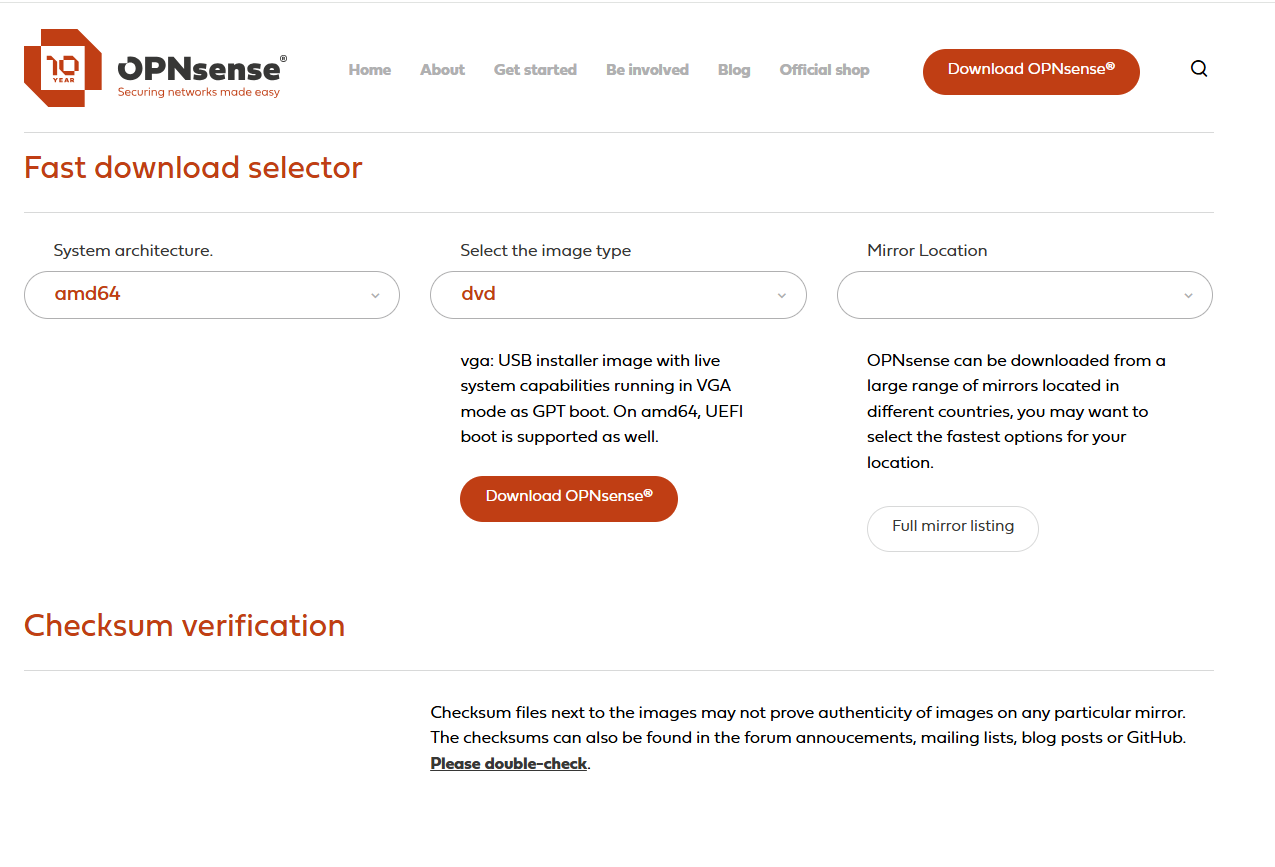
I recommend using a VGA image (if your router doesn't support a serial interface). You can connect the monitor to the router via the HDMI port and let it output the image for you.
Installing OPNSense is pretty easy, just login as installer as logon and opnsense as password, setup the keyboard layout, and let the installer does the rest for you, from disk partitioning, to unpacking packages.
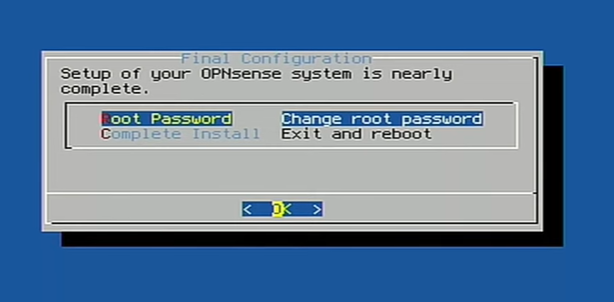
Once done, you MUST set for the root password, so you can log into the OPNSense system, using your own credential, instead of the default password of OPNSense
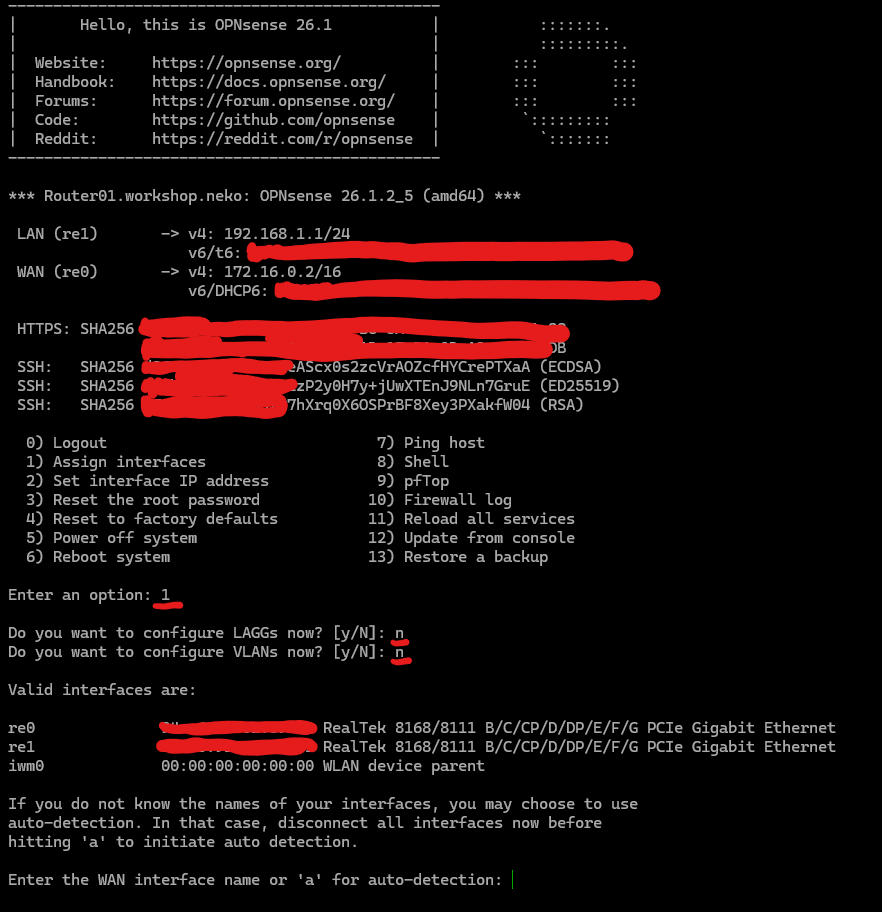
After restarting, OPNSense will launch. However, the interface is not yet assigned - OPNSense cannot distinguish between WAN and LAN interfaces. To configure this, in the main interface, select 1 to assign the interface.
In my case, I set up the re0 interface as the WAN and re1 as the LAN. The WAN interface has the static IP address of my home network (172.16.0.2/16), while the LAN interface is assigned the first IP address in the local network (192.168.1.1/24).
After assigning the interface, you can try accessing the router via the web interface, as management will be much easier, by connecting your laptop or desktop computer to a switch, and allowing the router to connect to the same switch. Note that the DHCP server may not be working, so you may also need to assign your client a static IP address.
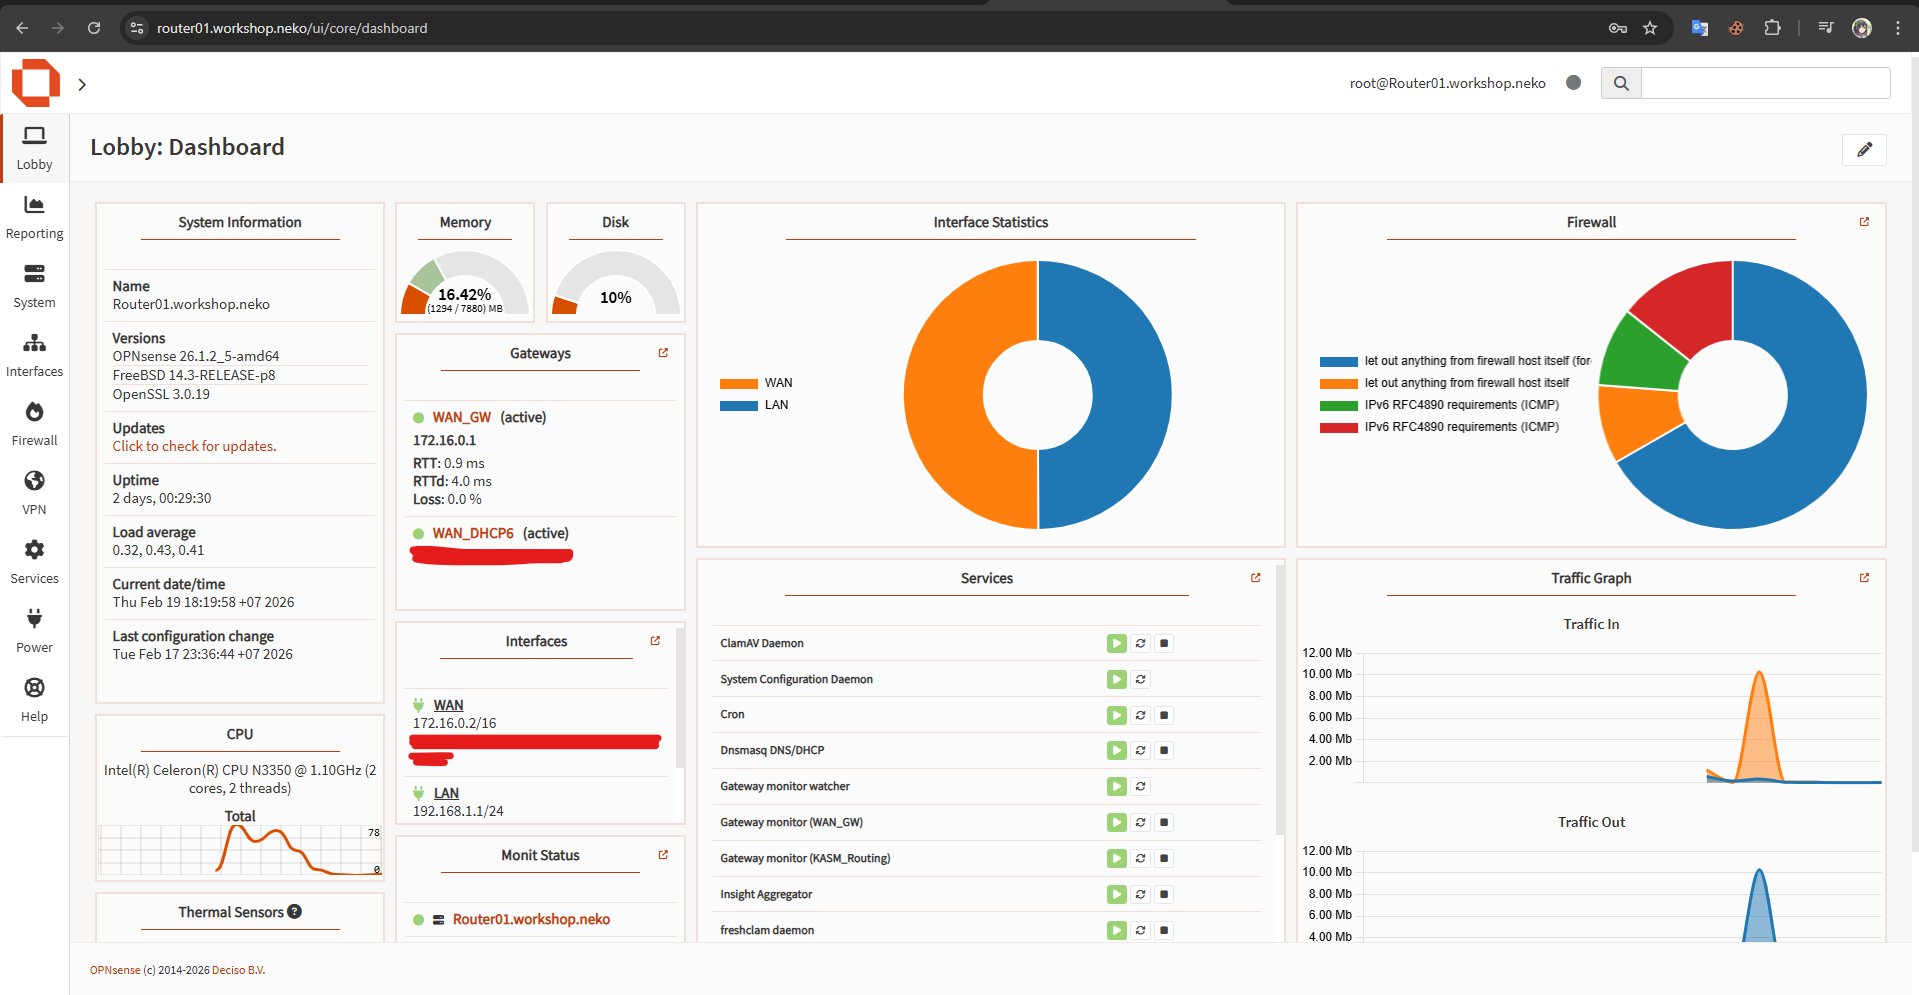
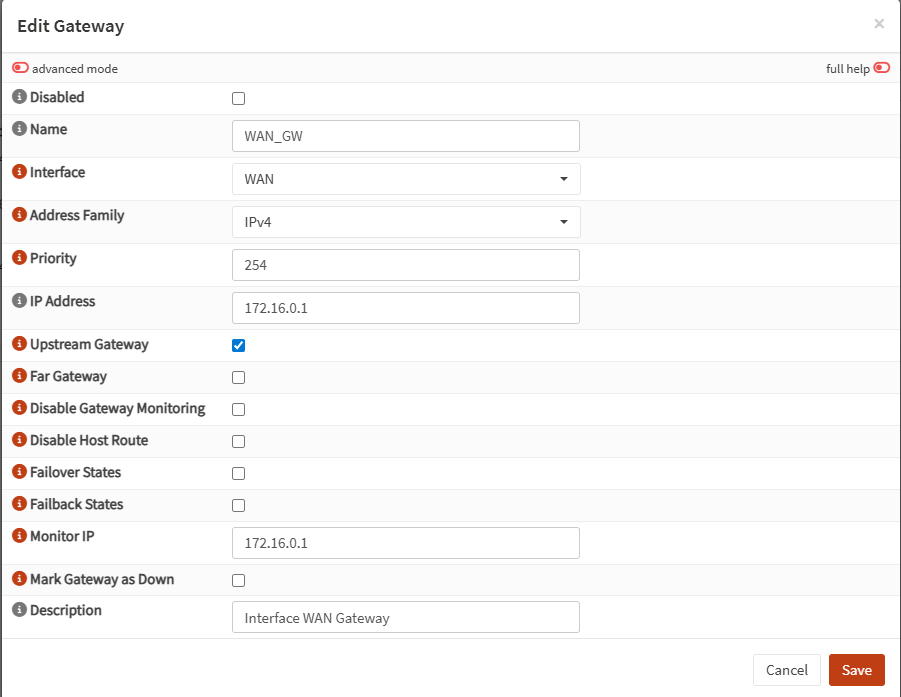
You can configure additional advanced features, such as network monitoring, to quickly troubleshoot issues in case of internet connection loss.
Download & install new Windows hypervisor host on HV01
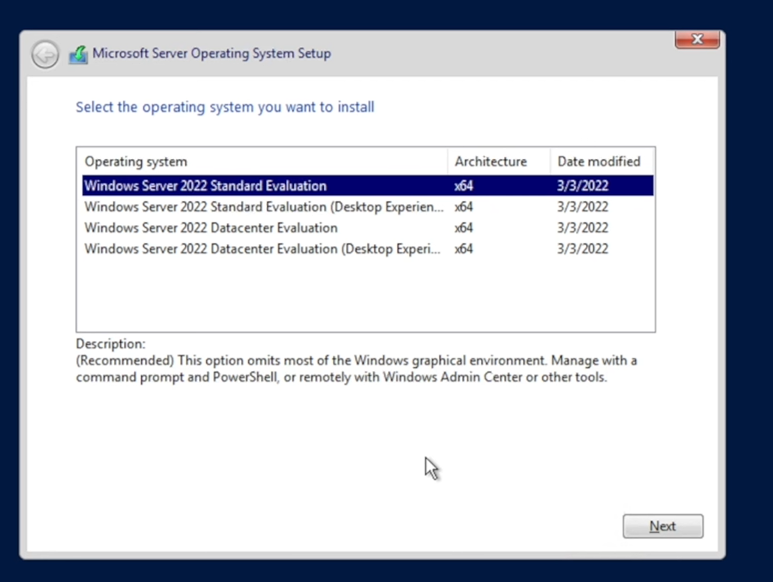
For the Windows Server installation, it is pretty much straight forward - you click the installation, select "Windows Server 2022 Datacenter Evaluation (Desktp Experience)", do the partitioning, and let the installer does the rest for you
Once the setup is complete, you will be rebooted into the Windows OOBE screen. Since the installation medium is "Evaluation", you may need to convert into Production, by using this command
dism /online /Set-Edition:ServerDatacenter /ProductKey:<Your product key> /AcceptEula
In case you don't have a product key, but still want to escape the evaluation mode, you can try using the KMS public key by Microsoft . Note that you may need to restart the server right after
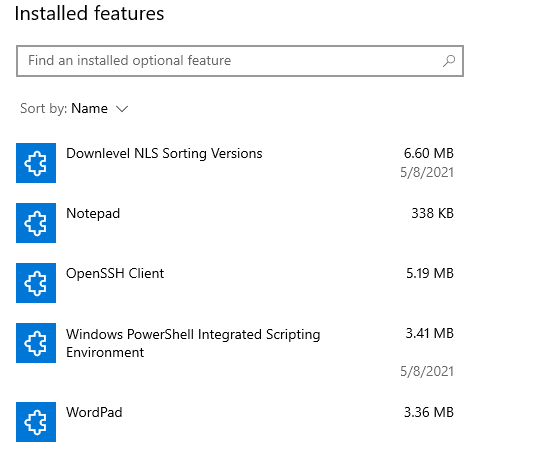
Another consideration is uninstalling optional features and apps, such as Microsoft Edge, Microsoft Paint, and Windows Hello. It is nice to know that Edge is considered as optional feature in Windows Server, so you can uninstall it in Control Panel, or in the System Setting > App and System Setting > Optional Features. A optional features installed should look like this
After everything above are done, you can install Hyper-V roles onto the hypervisor host, and features such as Network Virtualization, Windows Server Backup, System Data Archiver, and System Insights
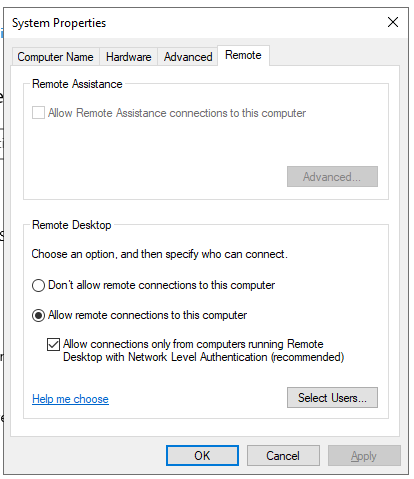
Another note for the Hyper-V host is turn on the Remote Desktop, with secure connection, so you can remotely control it without always plug your monitor, keyboard, and mouse into it.
Once everything above is done, try to restart the Windows Server, installing drivers and get latest drivers for hardware, restart it again, and put into ready for installing new virtual machines on top of it.
Download & install new Windows hypervisor host on HV02
For the LXD installation on HV02 (Raspberry Pi 5), it is required to install a Ubuntu server 24.04 (Noble) distro on top of that. To install Ubuntu Server 24.04, you can follow this instruction on Ubuntu
After successfully installing the Ubuntu on Raspberry Pi, you should follow the Ubuntu Documentation, to finalize the installation, including
-
Run the packages updates
sudo apt update && sudo apt full-upgrade -y
sudo snap refresh -
Firewall. Personally, I recommend using
firewalldinstead ofufw -
Root CA Certificate. It is very useful later, when you configure Active Directory Certificate Service with customized SSL/TLS certificate.
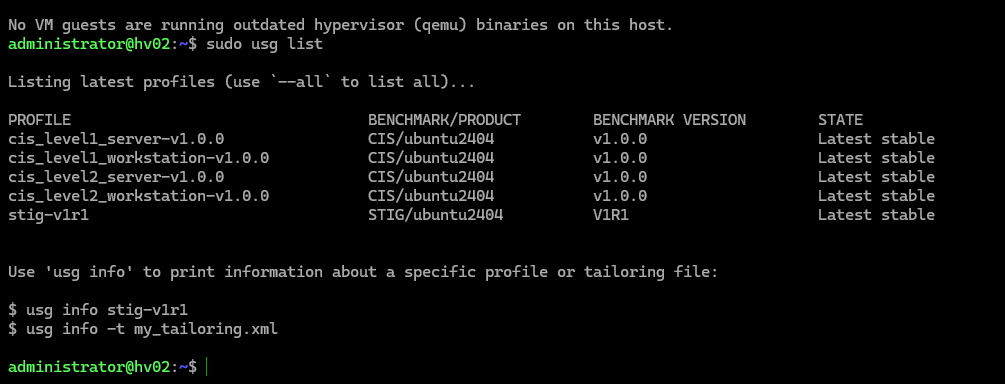
It is recommended to subscribe for free Ubuntu Pro. Ubuntu Pro gives you up to 5 machines on free plan, also Ubuntu Security Guide (
usg) - a small but powerful tool that help you patch the server. For more information, see more aboutusg
Don't forget to assign static IP address for your HV02
Once restarting the machine after hardening the server, you now can install LXD from Snap.